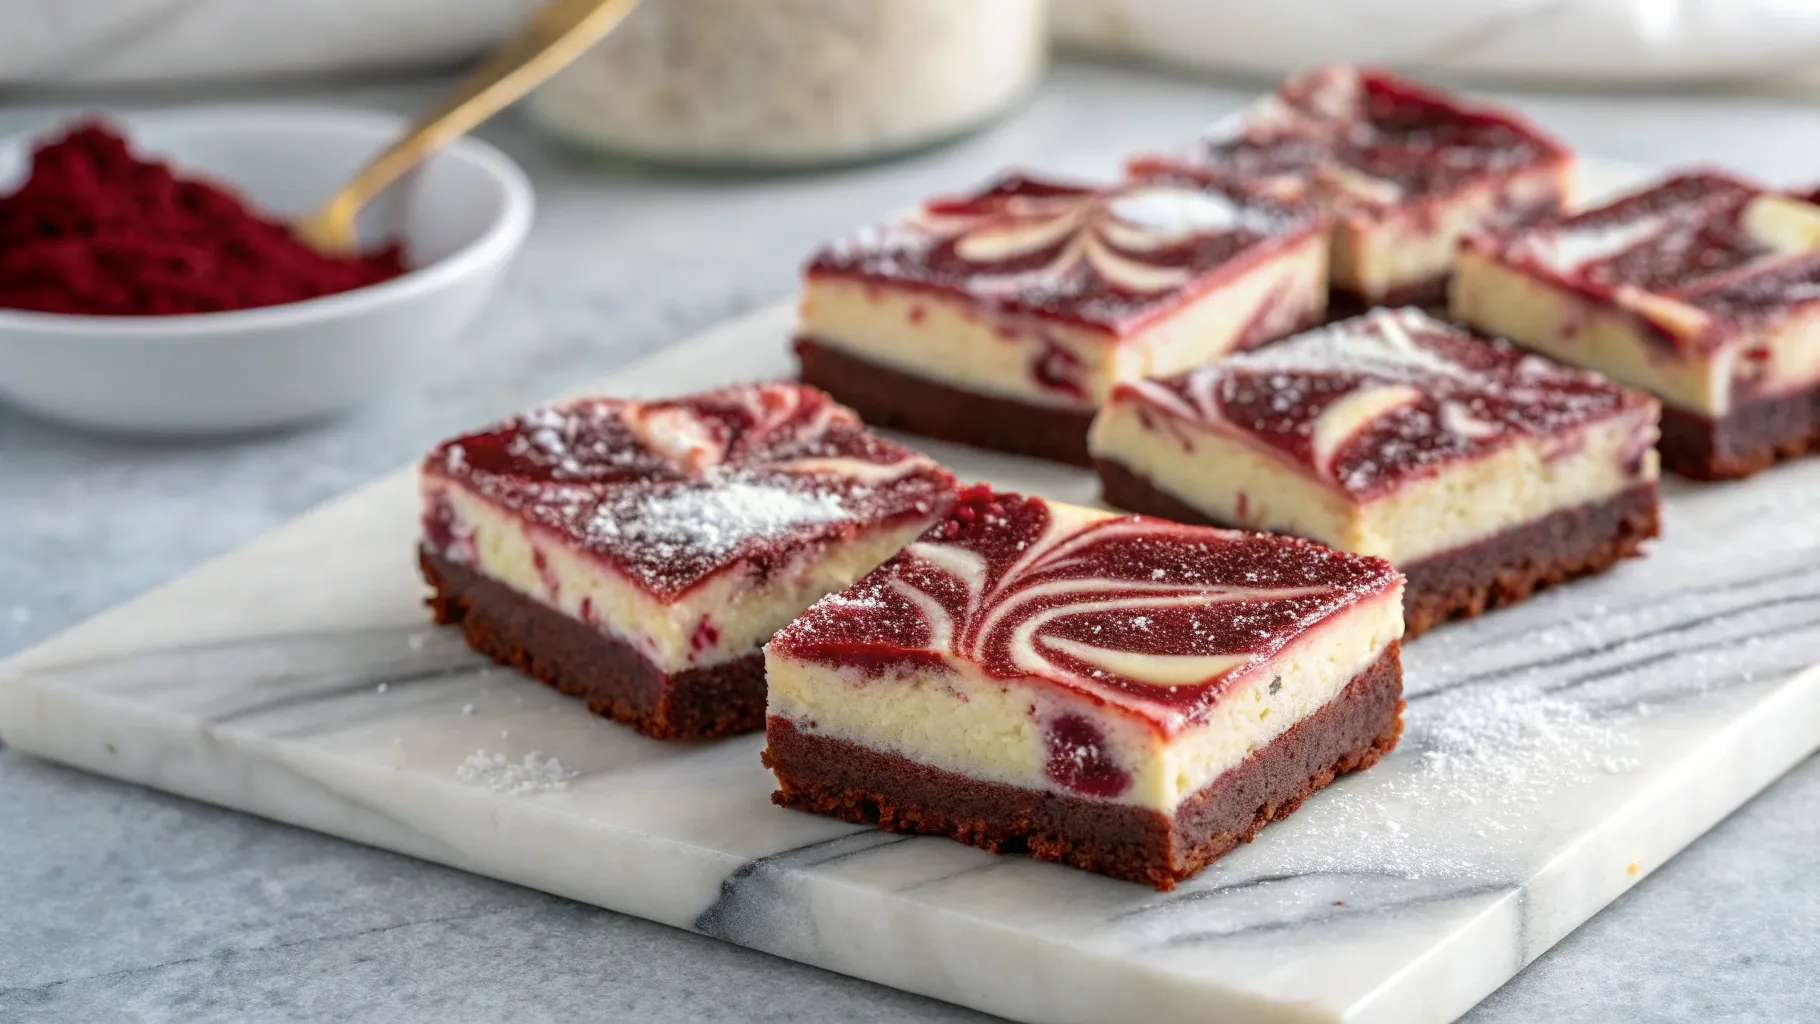
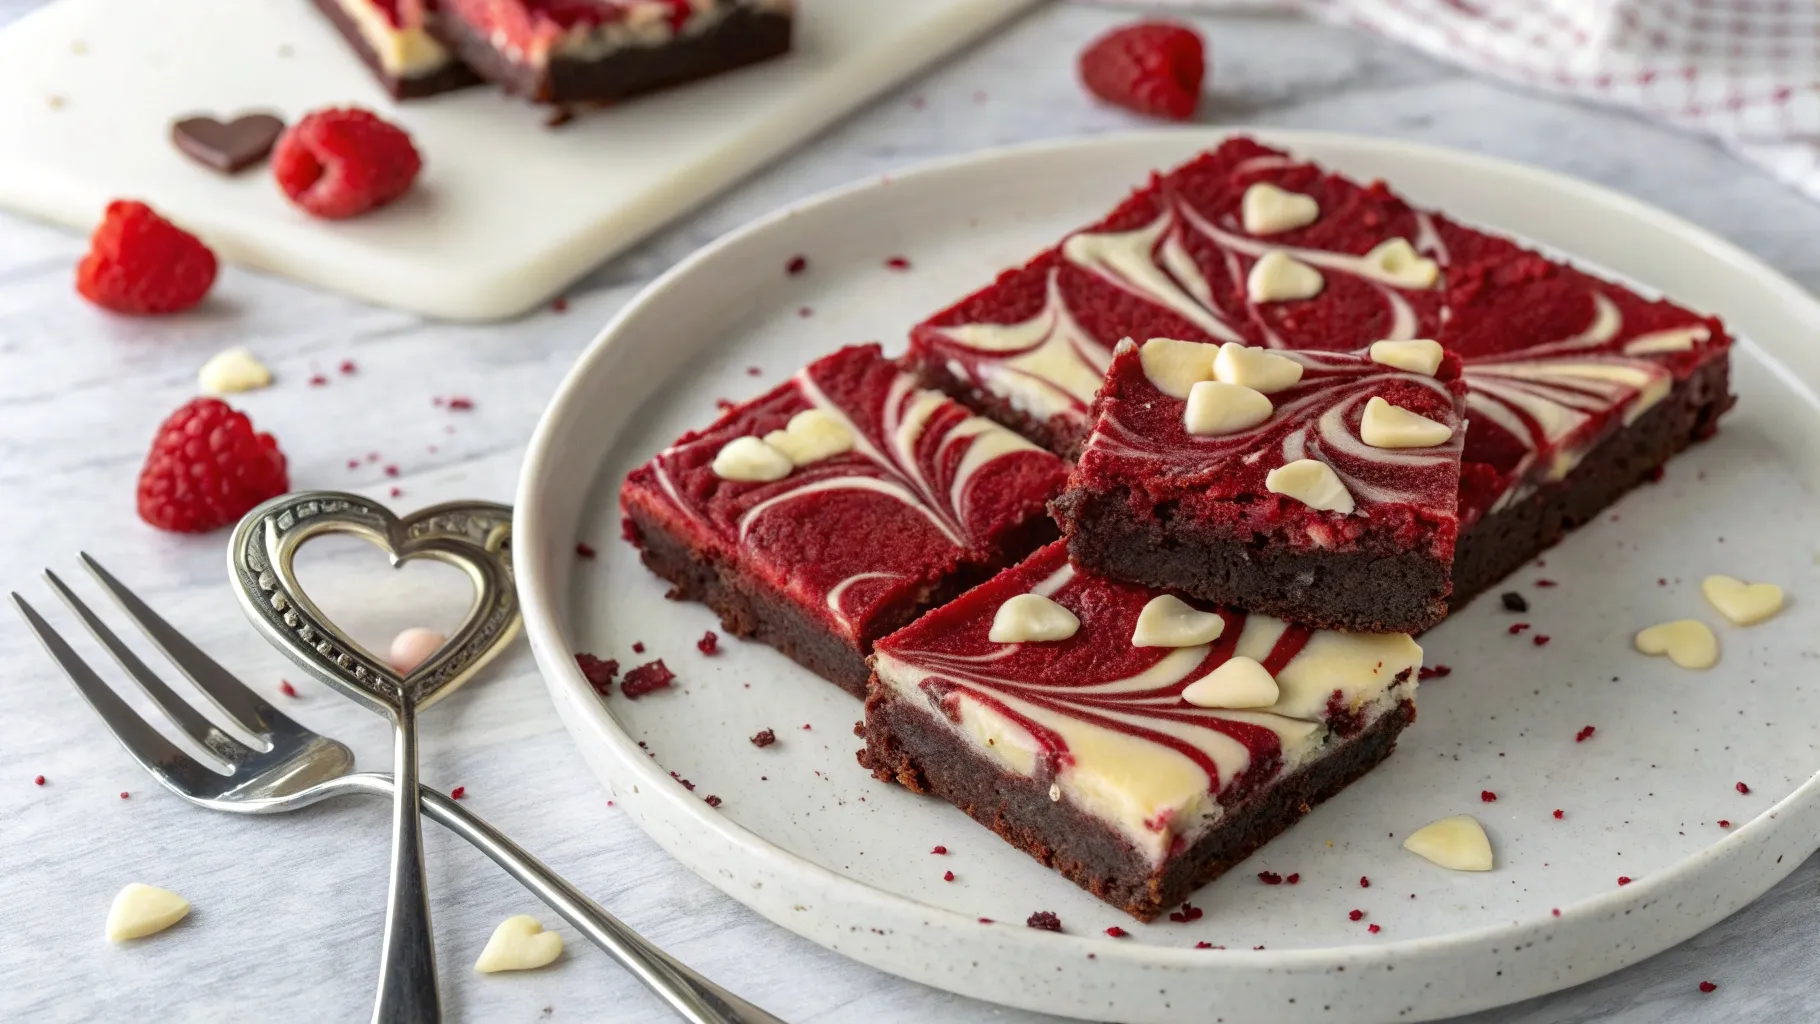
When it comes to indulgent desserts that are equal parts decadent, beautiful, and easy to make, red velvet cheesecake brownies top the list. With a base of rich, fudgy red velvet brownie and a luscious swirl of tangy cheesecake, this dessert delivers in flavor, texture, and wow factor.
These brownies are a showstopper—ideal for holidays like Valentine’s Day, birthdays, or even just a cozy weekend treat. What’s more, they’re made with no alcohol, no pork-based gelatin, and no wine—just pure, classic ingredients baked into something unforgettable. It’s not just the red color—it’s the delicate balance of cocoa, vanilla, and acidity that gives it a rich-yet-subtle flavor profile.
❤️ Why You’ll Love These Red Velvet Cheesecake Brownies
There are dozens of brownie variations, but this one is special. Here’s why you’ll fall head over heels for it:
-
Rich and fudgy texture with just a hint of cocoa
-
Tangy cheesecake swirl that’s creamy and perfectly balanced
-
Visually stunning red-and-white swirl for holidays and parties
-
Beginner-friendly, yet bakery-level results
-
No mixers or fancy tools required
Whether you’re baking for loved ones or simply treating yourself, these brownies are guaranteed to impress.
🛒 Ingredients You’ll Need
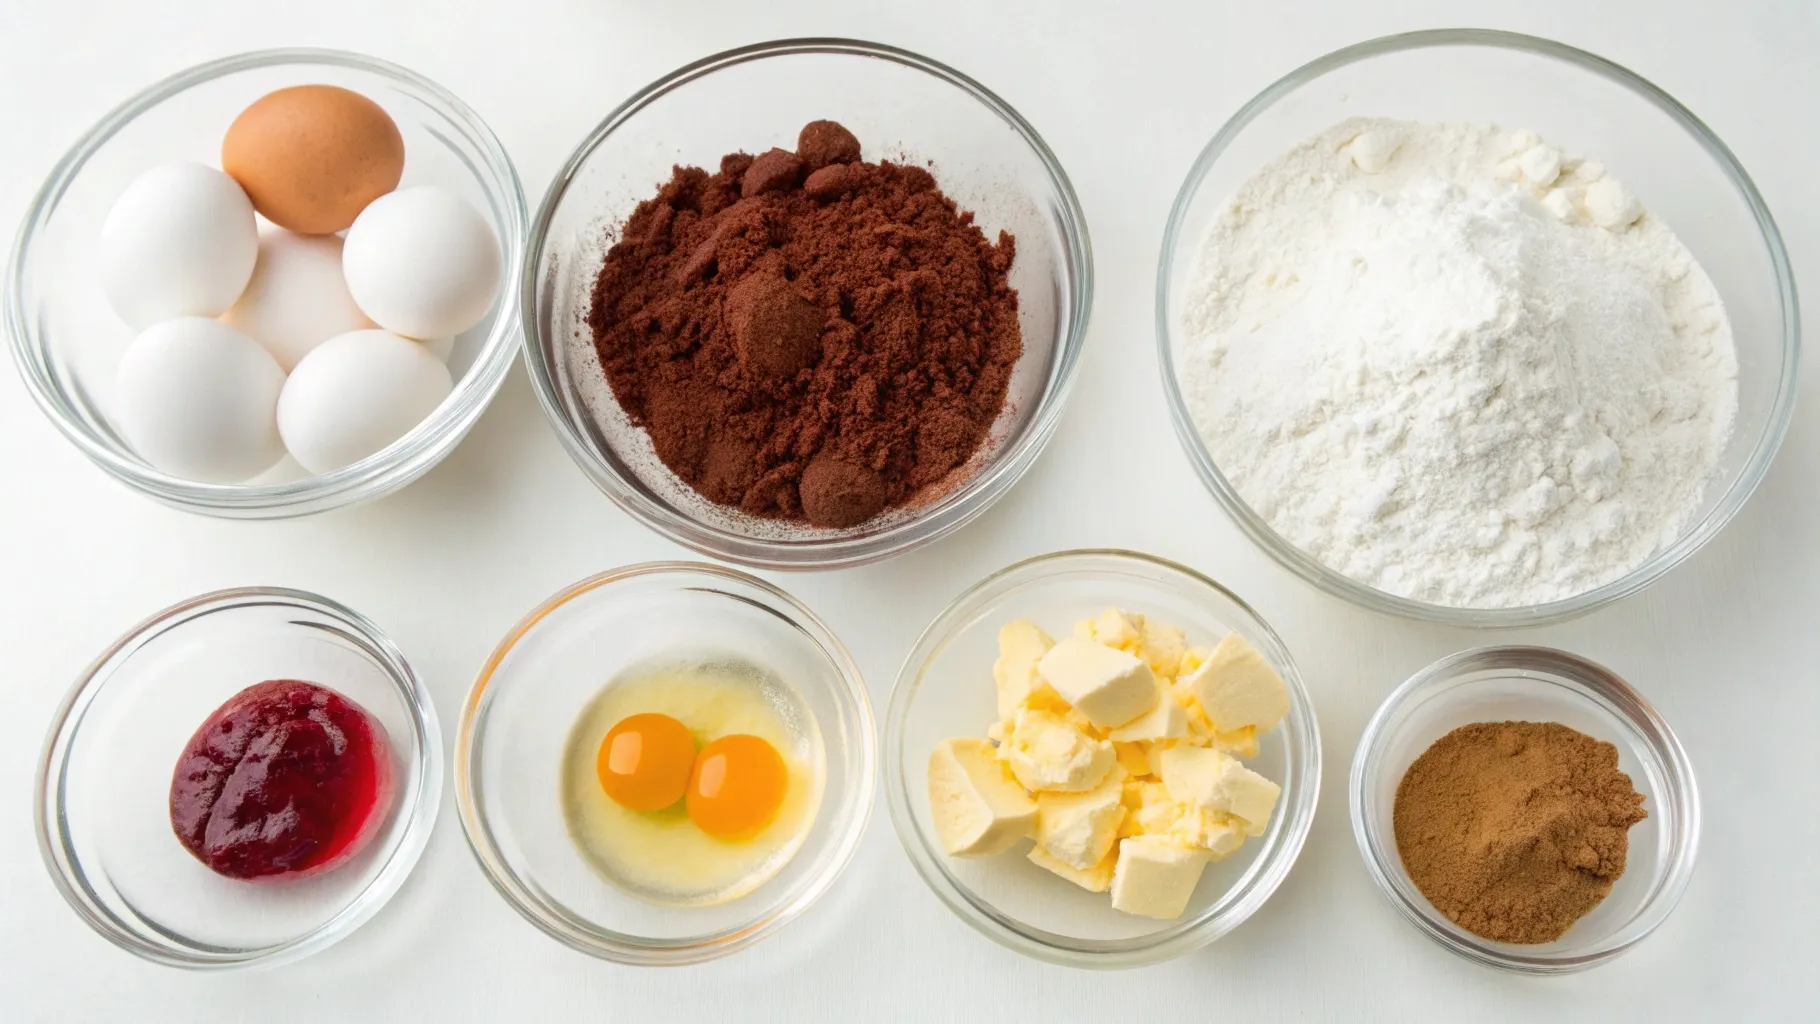
For the Brownie Layer:
-
½ cup unsalted butter, melted
-
1 oz semi-sweet baking chocolate, melted
-
¾ cup granulated sugar
-
¼ cup brown sugar
-
2 large eggs
-
1 tsp vanilla extract
-
1 tbsp red food coloring
-
¼ cup unsweetened cocoa powder
-
½ cup all-purpose flour
-
¼ tsp salt
For the Cheesecake Swirl:
-
8 oz cream cheese, softened
-
¼ cup granulated sugar
-
1 large egg yolk
-
½ tsp vanilla extract
🧀 Tip: Always use full-fat cream cheese for the richest swirl texture.
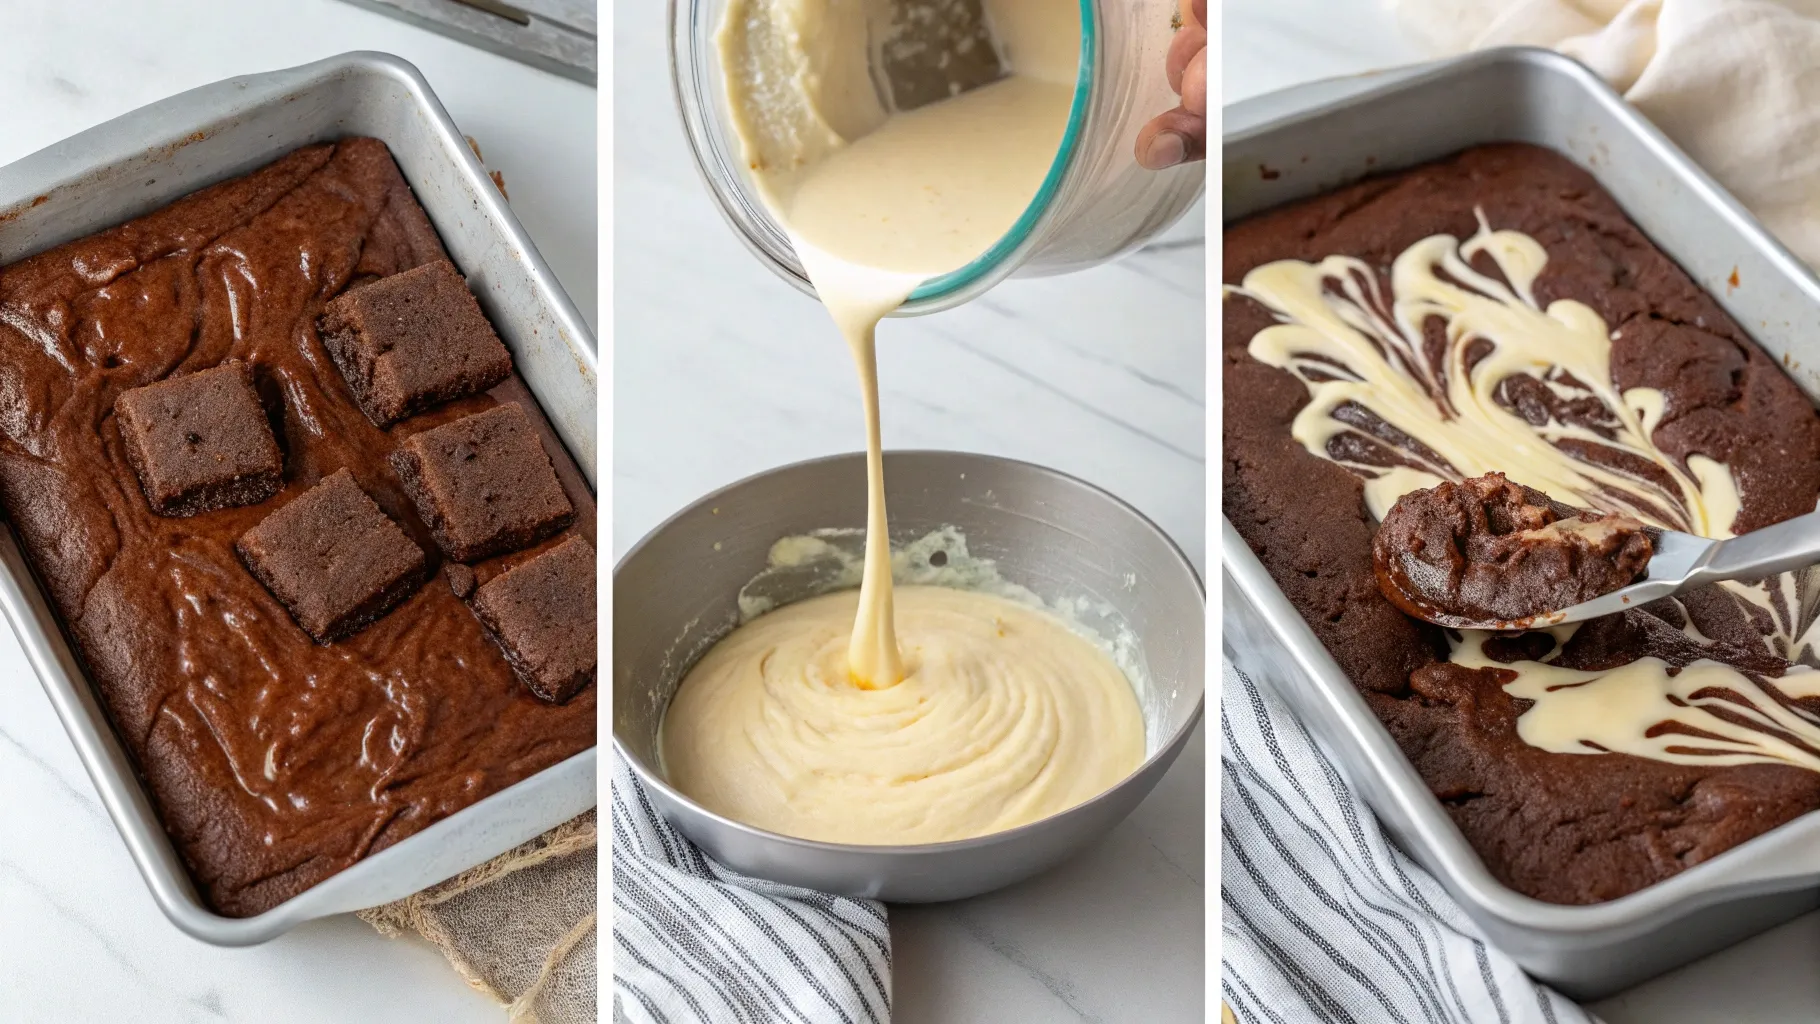
👨🍳 How to Make Red Velvet Cheesecake Brownies
-
Preheat oven to 350°F (175°C). Line an 8×8-inch pan with parchment paper.
-
In a bowl, whisk melted butter and chocolate until smooth.
-
Add both sugars, eggs, vanilla, and red food coloring. Stir until combined.
-
Sift in cocoa, flour, and salt. Mix until a smooth red velvet batter forms.
-
Pour most of the brownie batter into the pan, reserving 2–3 tablespoons.
-
In a separate bowl, beat cream cheese, sugar, egg yolk, and vanilla until smooth.
-
Spread cheesecake mixture over brownie layer.
-
Dollop remaining brownie batter on top. Use a butter knife to swirl gently.
-
Bake for 28–32 minutes, or until the edges are set and center jiggles slightly.
-
Cool completely before slicing. Chill for clean layers.
⏳ Pro Tip: Refrigerating before cutting gives neat slices and helps flavors meld.
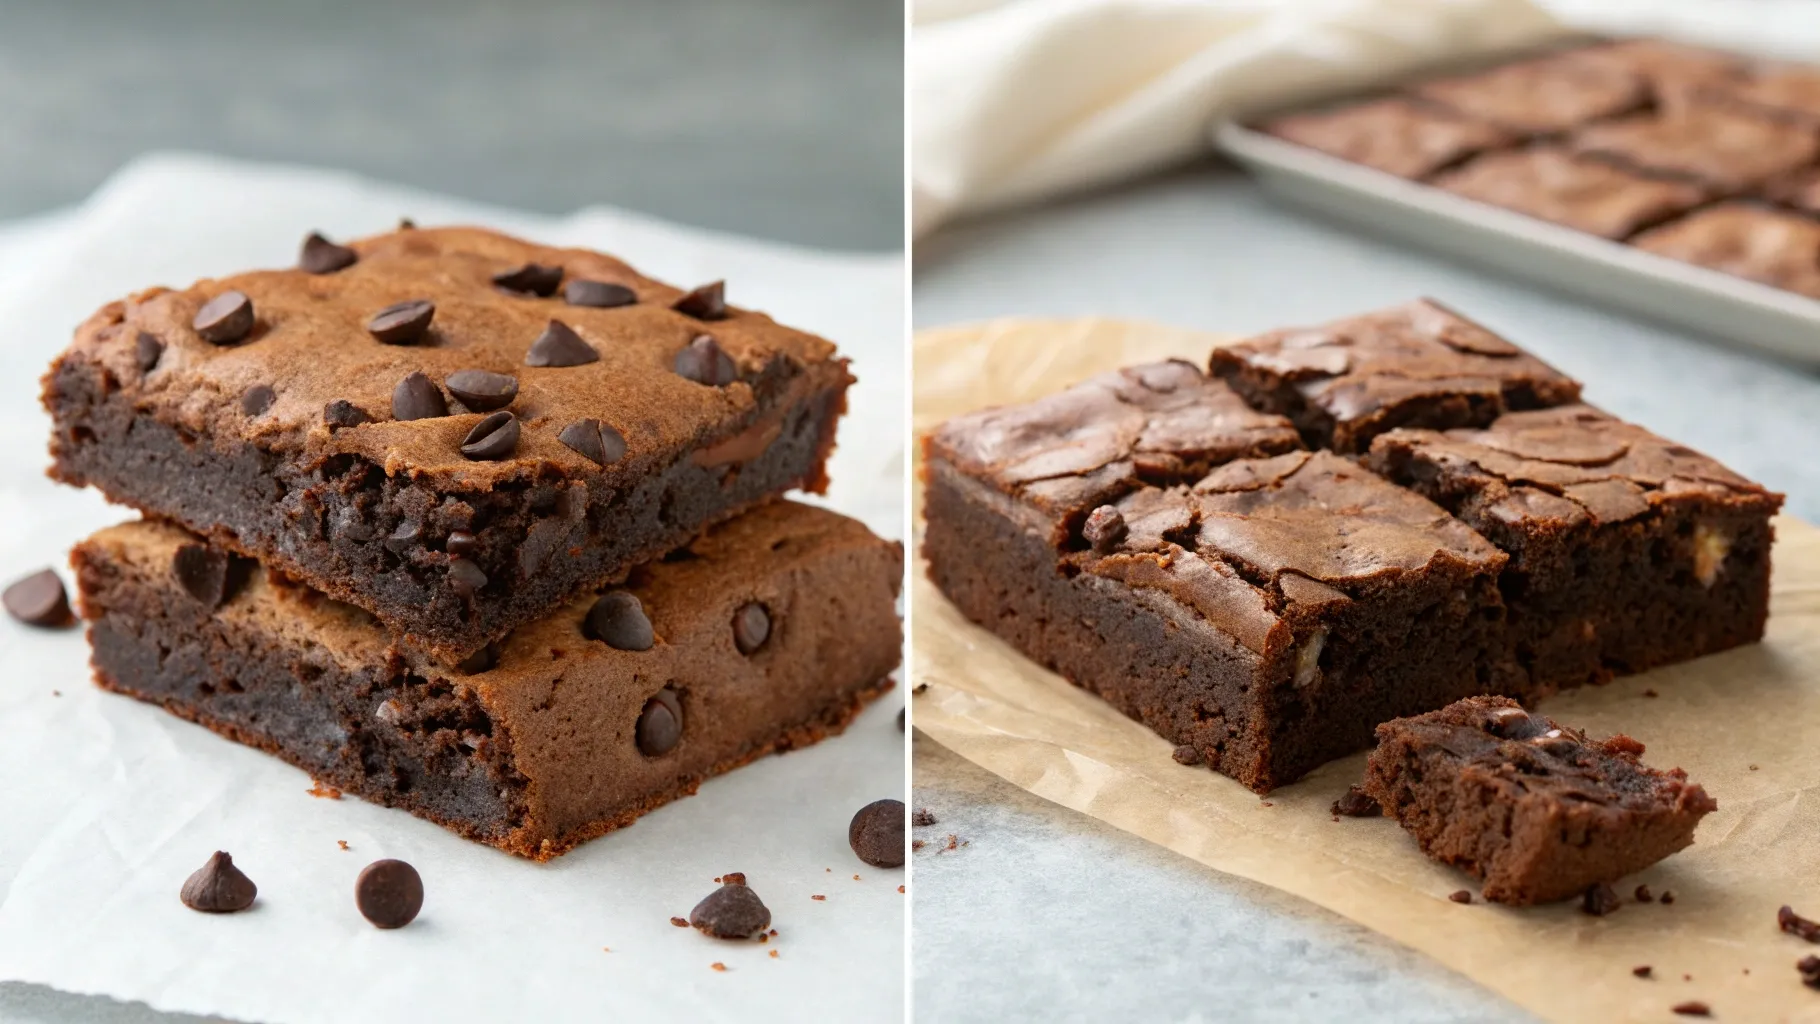
🧁 Texture & Flavor Profile
These brownies are everything you’d want in a swirled dessert:
-
Fudgy base from melted chocolate and butter
-
Tangy cheesecake layer that cuts through the richness
-
Mild cocoa flavor—not overpowering, but just enough
-
Slightly crisp edge and soft, gooey center
-
Balanced sweetness that isn’t cloying
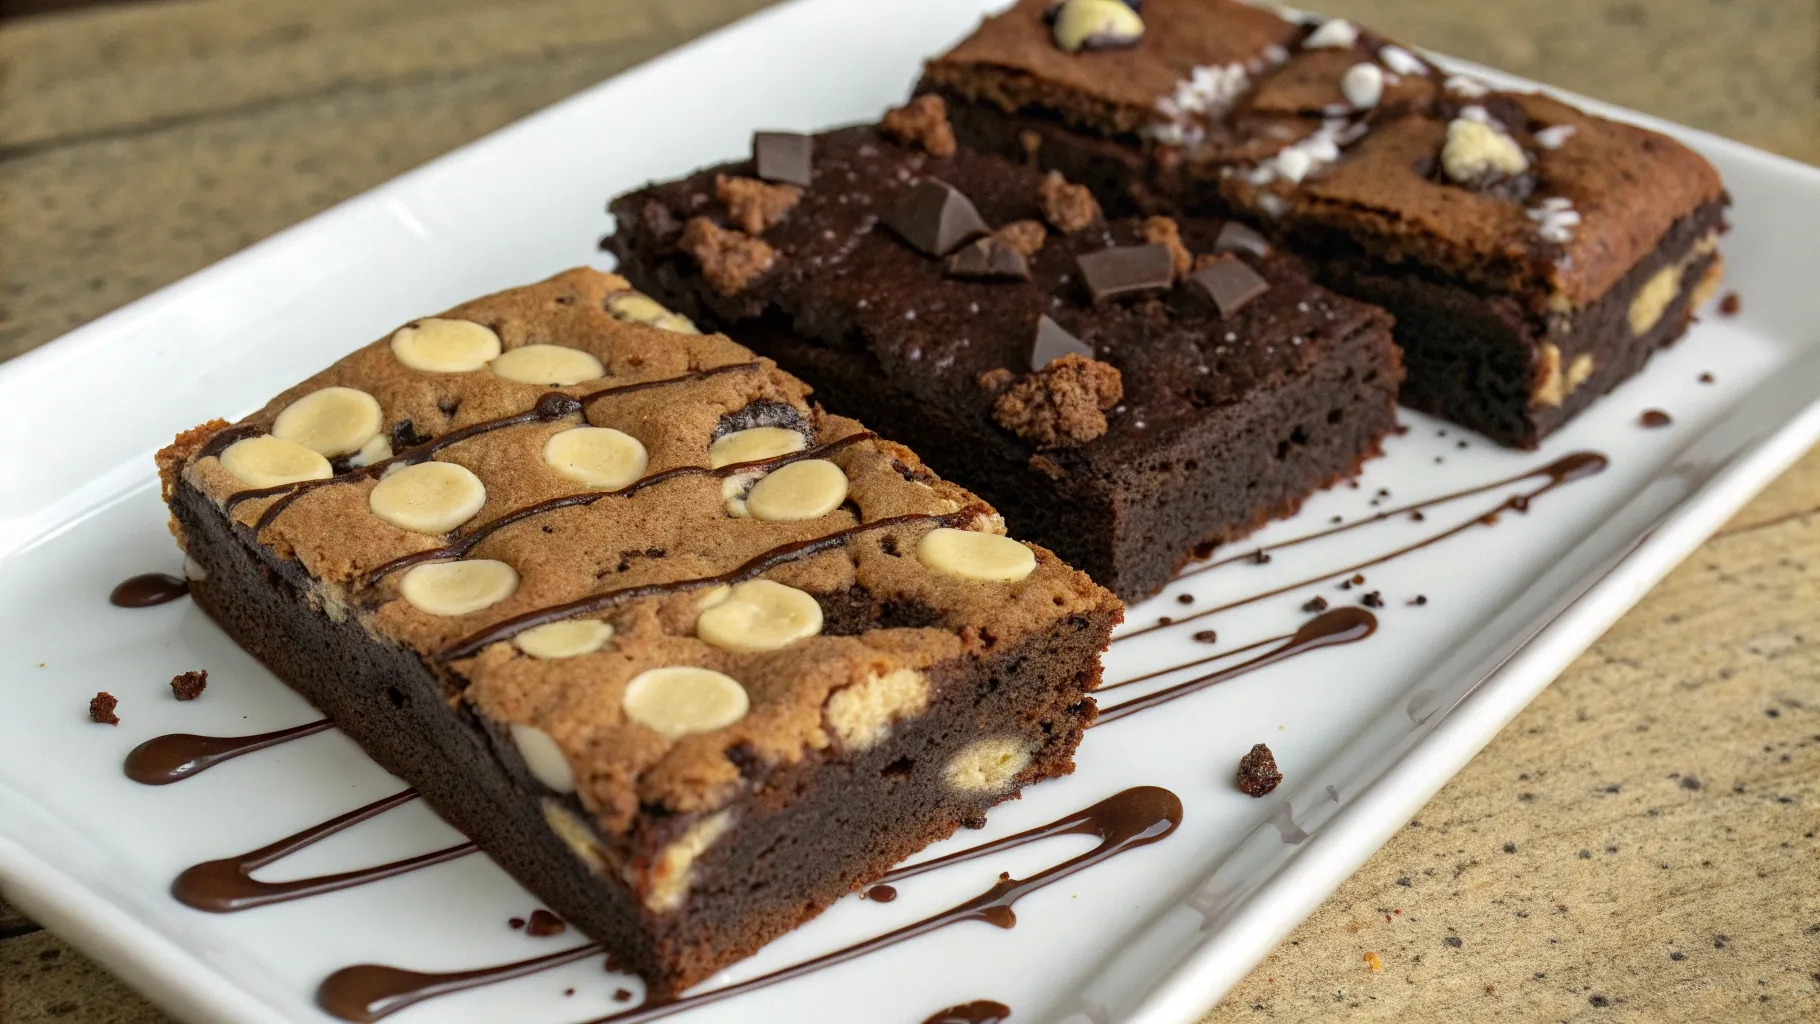
🔄 Variations & Swaps to Try
-
Add white chocolate chips for extra richness
-
Swirl in raspberry puree for fruity flair
-
Use natural food coloring like beet juice
-
Make them gluten-free using a 1:1 gluten-free flour blend
-
Try a marble mocha version by adding ½ tsp espresso powder to the brownie base
Feeling adventurous? Try swirling in some caramel like in these caramel cheesecake brownies.
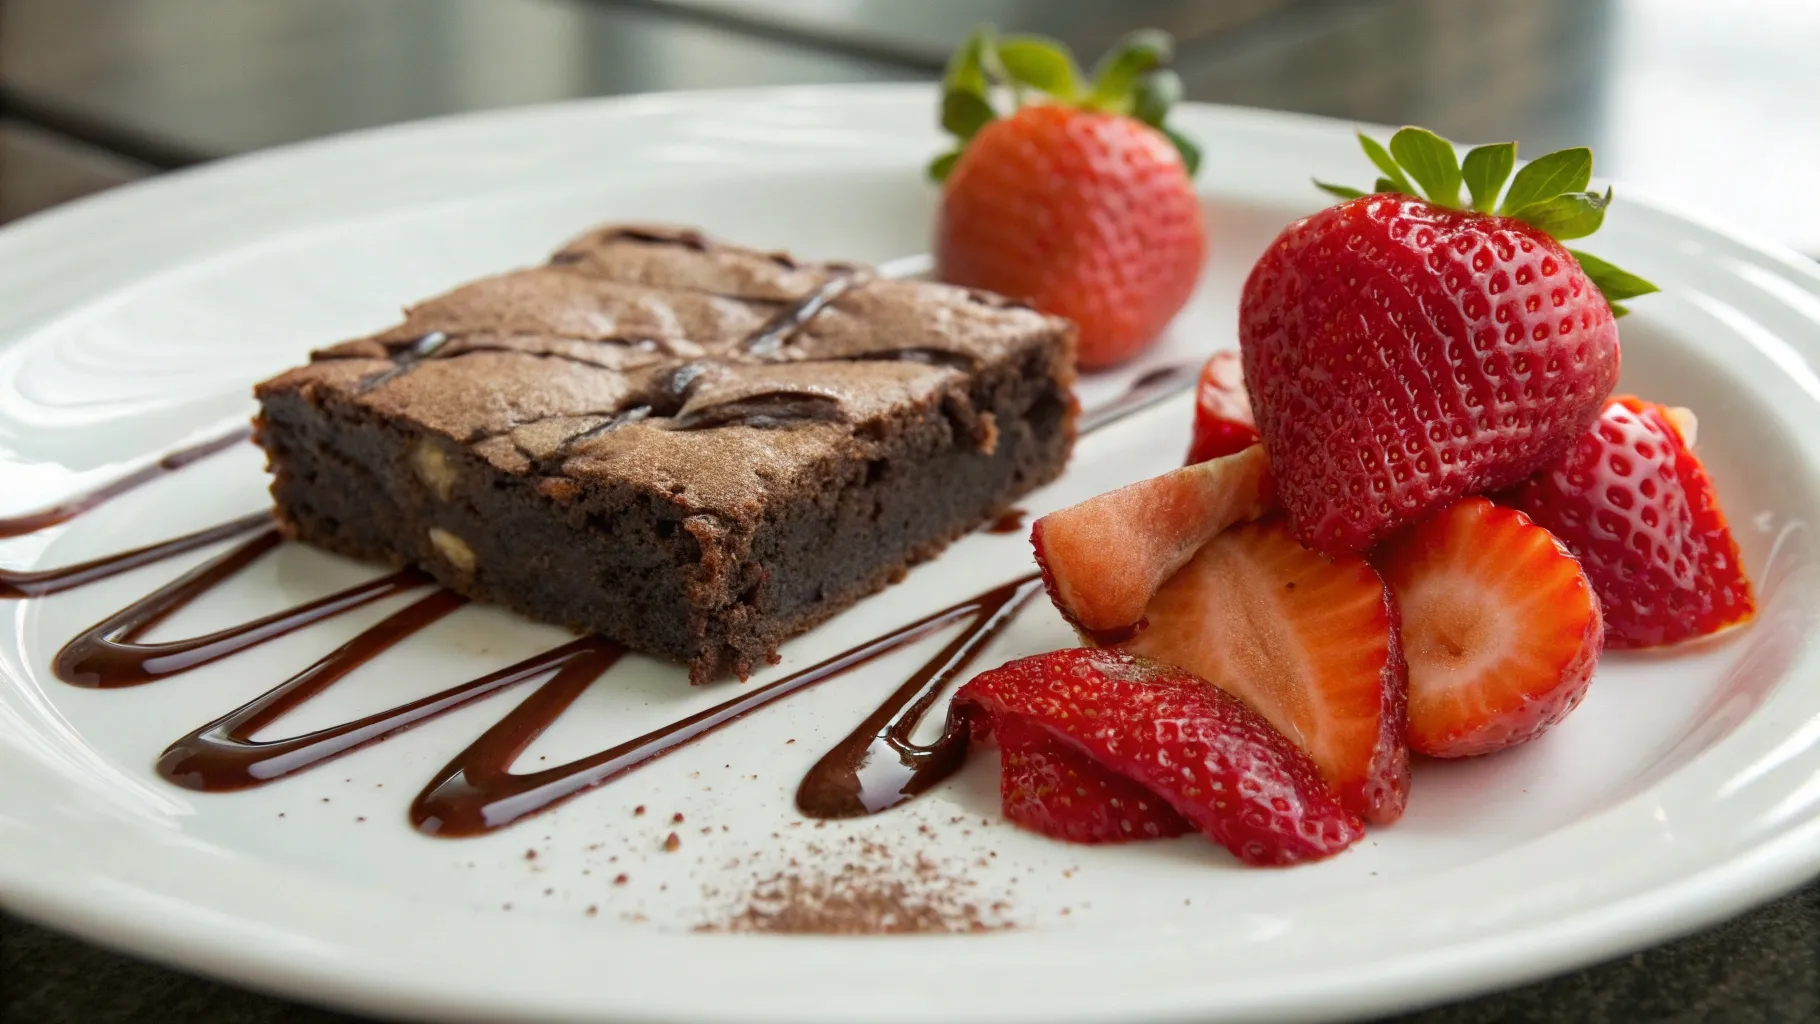
🎉 Serving Suggestions
These brownies are stunning enough for a party but simple enough to enjoy with your afternoon tea. Here’s how to serve them:
🍓 With fresh berries and whipped cream
🍦 Slightly warmed with vanilla ice cream
☕ With a cappuccino or hot cocoa
🎁 Cut into small squares for edible gift boxes
🧊 Storage & Make-Ahead Tips
Want to bake now and serve later? These brownies are perfect for prepping ahead.
Refrigerator:
-
Store in an airtight container up to 5 days
-
Let sit at room temp for 10 minutes before serving
Freezer:
-
Wrap individual bars in parchment and foil
-
Store in a zip-top freezer bag for up to 2 months
Reheating:
-
Let thaw overnight in the fridge
-
Enjoy cold or microwave for 10–15 seconds for a gooey center
⚠️ Common Mistakes to Avoid
These luscious red velvet cheesecake brownies may look bakery-level, but they’re surprisingly easy to get right—as long as you avoid a few common baking pitfalls. Below are the most frequent issues home bakers face, plus smart, simple ways to avoid them.
❌ Overmixing the Brownie Batter
Why it’s a problem:
When you overmix the batter—especially after adding the flour—you activate the gluten, which can make your brownies dense, chewy, or rubbery, rather than tender and fudgy.
How to fix it:
-
Mix just until the dry ingredients are incorporated.
-
Use a spatula or wooden spoon, not a mixer.
-
Stop as soon as there are no visible streaks of flour.
🧁 Pro Tip: Brownie batter should look glossy and thick—not airy or whipped.
❌ Using Low-Fat Cream Cheese
Why it’s a problem:
Low-fat or spreadable cream cheese contains more water and less fat, which can cause the cheesecake swirl to become runny or not set properly during baking.
How to fix it:
-
Always use full-fat block cream cheese, softened to room temperature.
-
Avoid whipped or tub-style versions, which don’t hold up well to heat.
🧀 Creamy Tip: Let cream cheese sit out for 30–60 minutes before mixing—it’ll blend more smoothly without needing to overbeat.
❌ Skipping Chill Time Before Slicing
Why it’s a problem:
Warm brownies may taste delicious but don’t slice cleanly, especially with a soft cheesecake layer. You’ll end up with smeared layers and crumbled edges.
How to fix it:
-
Let the brownies cool fully at room temperature, then chill in the refrigerator for at least 1–2 hours before cutting.
-
Use a sharp knife, and wipe it clean between each slice.
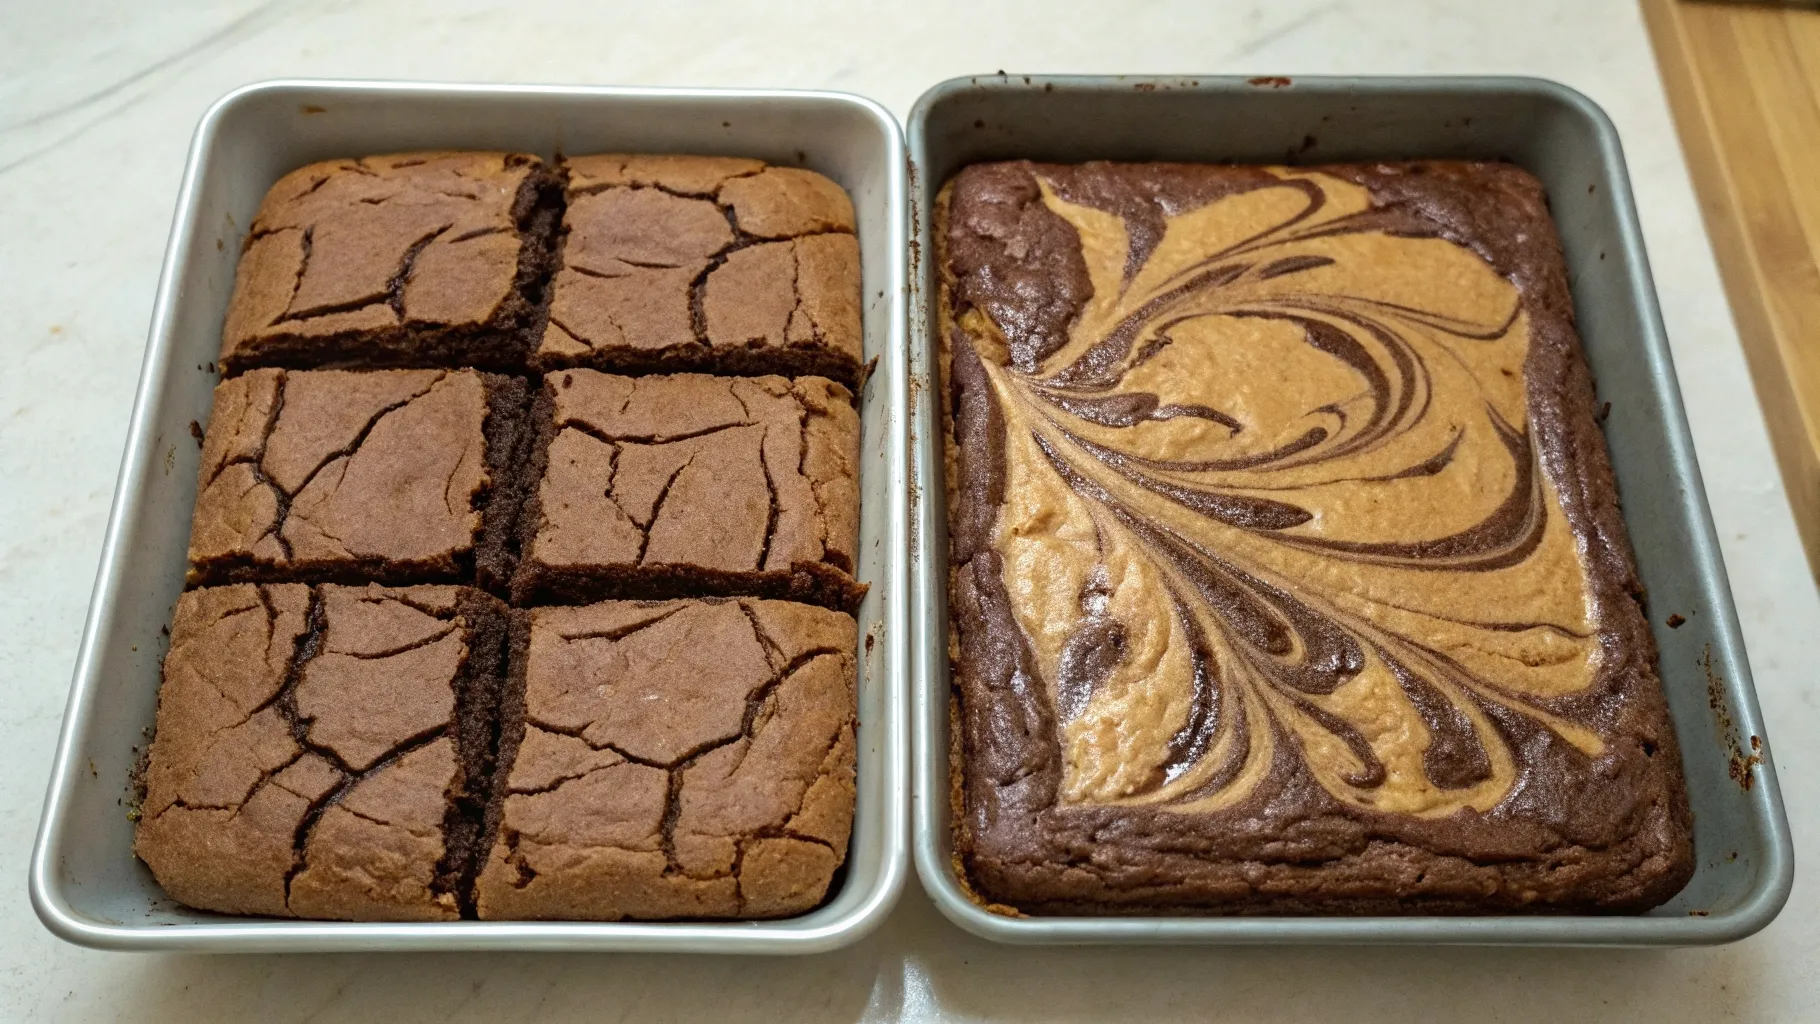
❌ Overbaking the Brownies
Why it’s a problem:
If the brownies bake too long, the cheesecake layer dries out and the red velvet base becomes cakey. A common sign? Cracked tops and dry, crumbly texture.
How to fix it:
-
Bake just until the edges are set, and the center still jiggles slightly.
-
Remember: brownies continue to cook as they cool!
⏱️ Timing Tip: Start checking at the 28-minute mark. Slightly underbaked = fudgier results.
❌ Under-Swirling the Cheesecake Layer
Why it’s a problem:
If you just plop the cheesecake on top without swirling it in, you’ll get large, unmixed blobs—no pretty marbling and uneven baking.
How to fix it:
-
Use a butter knife or toothpick
-
Gently swirl in “S” or figure-eight shapes, just through the top layer
-
Be careful not to overdo it—too much swirling blends the layers into one
🎯 Fix Summary:
Use a butter knife to gently swirl in “S” shapes. This distributes the cream cheese beautifully while keeping distinct layers.
By avoiding these common errors, your red velvet cheesecake brownies will come out picture-perfect, gorgeously marbled, and impossibly delicious—every single time.
❓ FAQs – Red Velvet Cheesecake Brownies
Whether you’re a first-time baker or a red velvet lover looking to switch things up, these FAQs will walk you through the most common questions. With the right tips and tools, you’ll get perfect brownies every time!
Can I use boxed brownie mix for red velvet cheesecake brownies?
Yes! If you’re short on time or just want a no-fail shortcut, boxed brownie mix works wonderfully as a base for this recipe.
-
Choose a fudgy-style mix (avoid cakey ones for best texture)
-
Prepare the mix as directed on the box
-
Pour into a lined baking pan, then add the cheesecake topping and swirl
-
Bake for 5–8 minutes less than the box recommends, as the cream cheese layer slows down the baking process
💡 Pro Tip: Add 1–2 tablespoons of cocoa powder and red food coloring to the batter to mimic the red velvet flavor more closely.
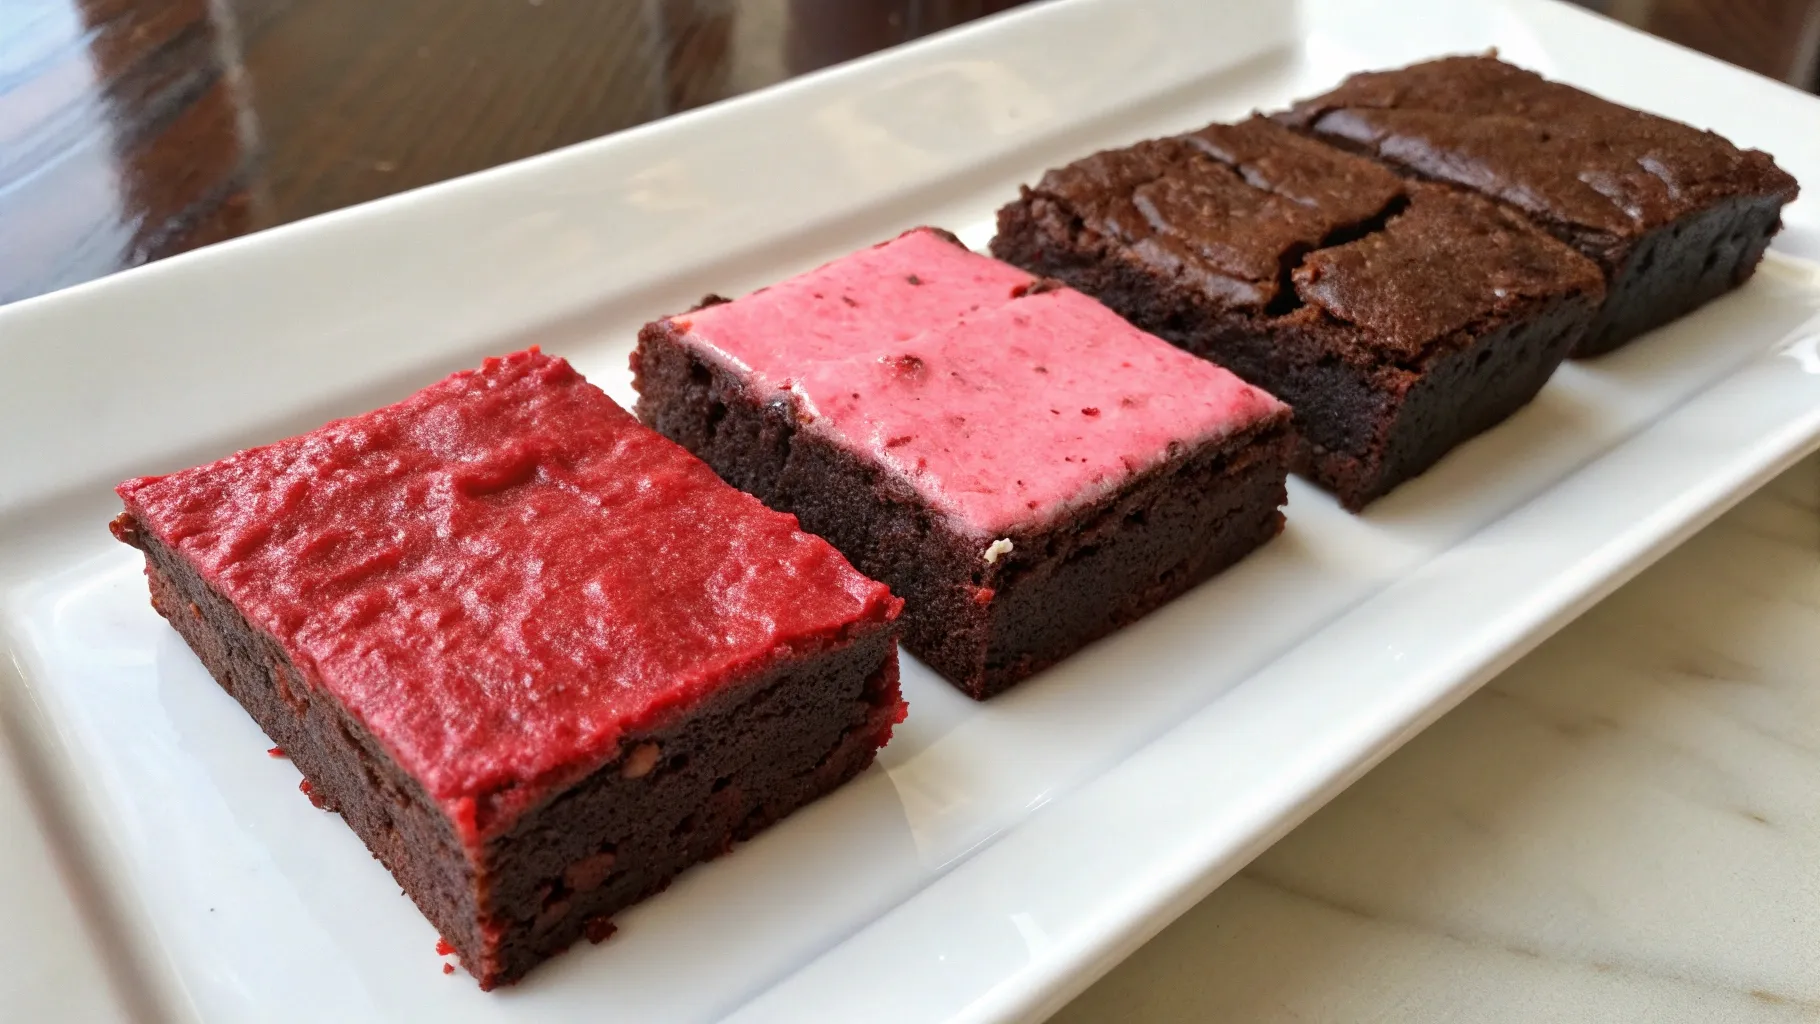
Do I have to use red food coloring?
Not at all. The vibrant red hue is optional and purely aesthetic.
If you’d prefer a more natural alternative:
-
Try beet juice or beet powder for a deep, earthy color
-
Use pomegranate juice concentrate for subtle pink tones
-
Or simply skip the coloring—the taste will still be rich and chocolatey, just without the red flair
Do red velvet cheesecake brownies need to be refrigerated?
Yes, absolutely. Since these brownies have a cream cheese layer, they should be treated like cheesecake after baking.
-
Store them in an airtight container in the refrigerator
-
They’ll stay fresh for up to 5 days
-
Let them rest at room temperature for 10–15 minutes before serving for the best texture
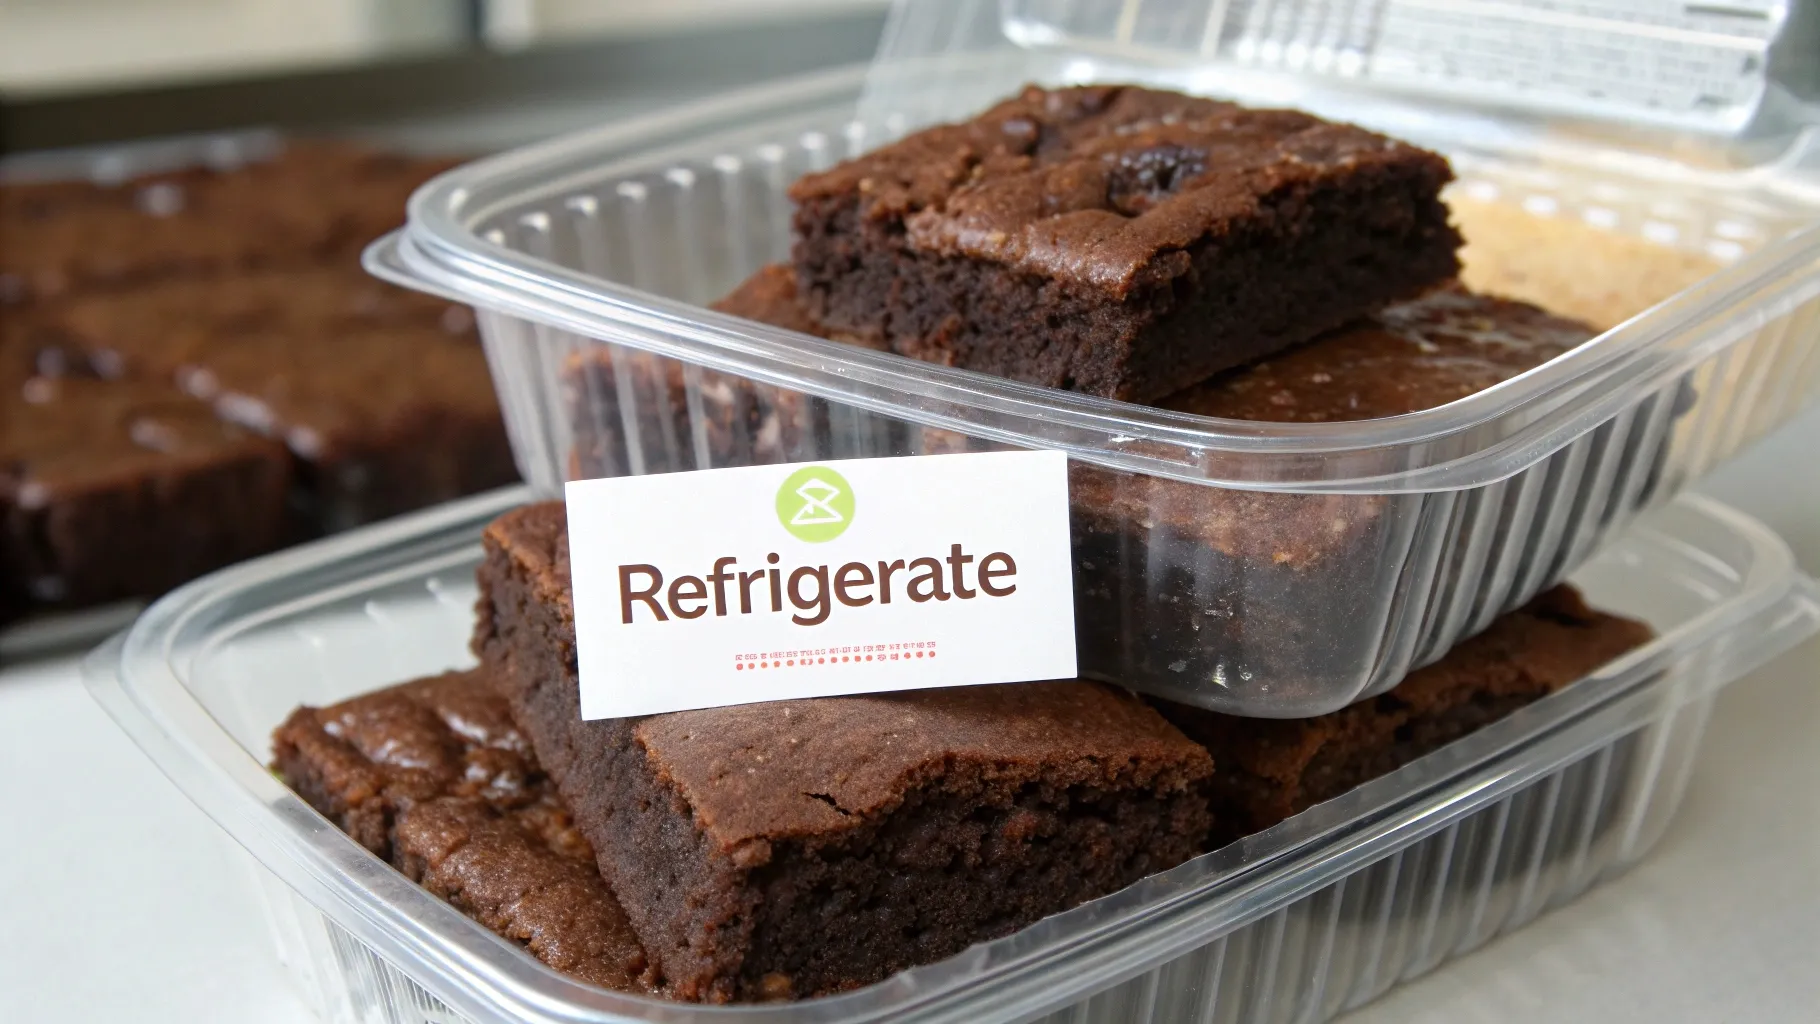
🚫 Warning: Leaving them out too long can cause spoilage, especially in warmer climates.
Can I double the recipe for a 9×13 pan?
Absolutely! This recipe is easy to scale up for larger gatherings, potlucks, or batch gifting.
-
Double all ingredients exactly
-
Use a 9×13-inch baking pan, lined with parchment for easy cleanup
-
Bake for 35–40 minutes, checking for doneness around the 33-minute mark
-
The center should have a slight jiggle, and the edges should be set
🎉 Bonus Idea: For events, cut into smaller bite-sized bars and serve on decorative platters!
How do I get the swirl effect just right?
Getting that gorgeous marbled swirl is easier than it looks. The key is in the technique, not overmixing.
Here’s how to nail it:
-
Dollop the cream cheese mixture in spoonfuls over the red velvet layer
-
Add small drops of reserved brownie batter
-
Use a toothpick, skewer, or butter knife to gently swirl through the batter
-
Move in figure-eight or S-shaped motions across the top layer
-
Avoid swirling too deep—you’re aiming to mix just the top
✨ Pro Tip: Practice on a plate with yogurt and jam if you want to test your swirl pattern first!
💡 Final Thoughts on Red Velvet Cheesecake Brownies
Whether you’re baking for a holiday, surprising a loved one, or simply indulging in a midweek treat, these red velvet cheesecake brownies are guaranteed to wow. They’re fudgy, creamy, and visually stunning—a dessert you’ll be proud to share or enjoy all to yourself.
For another rich dessert that’s perfect for gatherings, check out this indulgent cream puff cake.
Red Velvet Cheesecake Brownies (Fudgy, Swirled & Easy)
These red velvet cheesecake brownies are a rich, fudgy blend of chocolate and vanilla with a tangy cream cheese swirl. Visually stunning and deliciously indulgent, they’re perfect for holidays, parties, or a sweet treat any time of year.
- Total Time: 2 hours (includes cooling and chilling)
- Yield: 9–12 brownies 1x
Ingredients
For the Red Velvet Brownie Layer:
- ½ cup unsalted butter, melted
- 1 oz semi-sweet baking chocolate, melted
- ¾ cup granulated sugar
- ¼ cup brown sugar
- 2 large eggs
- 1 tsp vanilla extract
- 1 tbsp red food coloring
- ¼ cup unsweetened cocoa powder
- ½ cup all-purpose flour
- ¼ tsp salt
For the Cheesecake Swirl:
- 8 oz cream cheese (full-fat), softened
- ¼ cup granulated sugar
- 1 egg yolk
- ½ tsp vanilla extract
Instructions
- Preheat oven to 350°F (175°C). Line an 8×8-inch baking pan with parchment paper.
- In a bowl, combine butter, melted chocolate, sugars, eggs, vanilla, and red food coloring. Mix well.
- Add cocoa powder, flour, and salt; stir until just combined.
- Spread most of the brownie batter in the pan, saving a few spoonfuls for topping.
- Beat cream cheese, sugar, egg yolk, and vanilla until smooth. Dollop over brownie batter.
- Add remaining brownie batter in spoonfuls. Swirl gently with a knife in figure-eights.
- Bake for 28–32 minutes, until the edges are set and the center slightly jiggles.
- Cool completely, then chill before slicing for clean layers.
- Prep Time: 15 minutes
- Cook Time: 30 minutes
- Category: Dessert, Brownies, Bars
- Method: Baking
- Cuisine: American, Holiday-Inspired
- Diet: Vegetarian
Keywords: red velvet cheesecake brownies, cheesecake swirl brownies, swirled brownies, red velvet cream cheese bars, fudgy brownies, Valentine’s dessert